
A video tutorial follows at the end of the text tutorial.
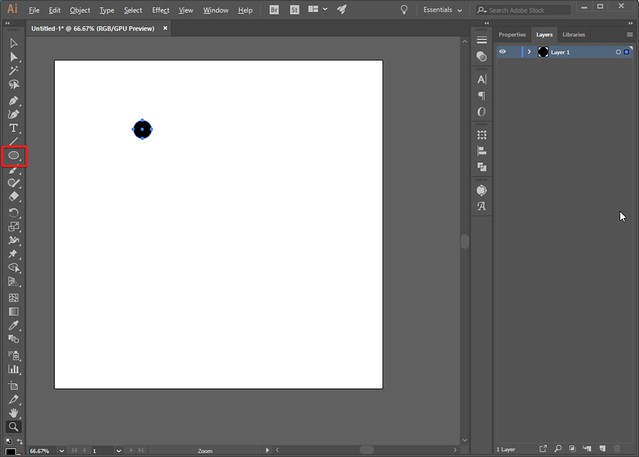
Using the shape tool draw a circle.
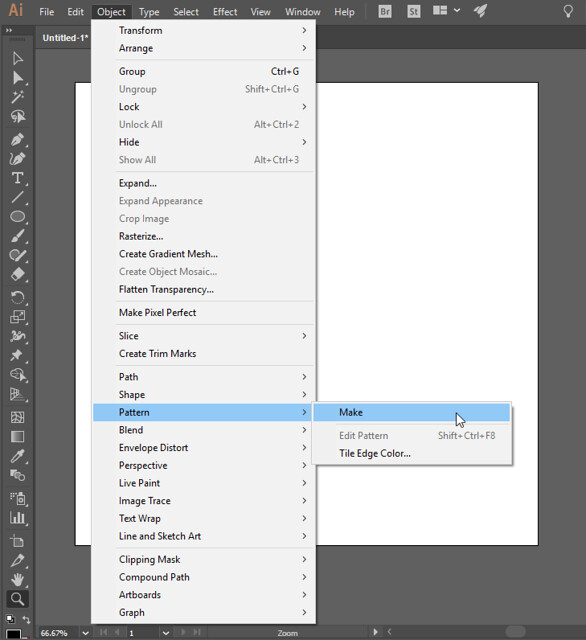
Select the layers you want to use in your pattern. Then go to Object --> Pattern --> Make
Now the pattern editing window will pop up. For a basic polka dot pattern, change the "tile type" to brick by row, and increase the padding around your circle by changing the width and height of the pattern area. When you're done click on "done" near the top.

Now back in my original artboard I will hide the circle I made and draw a square the size of my canvas.
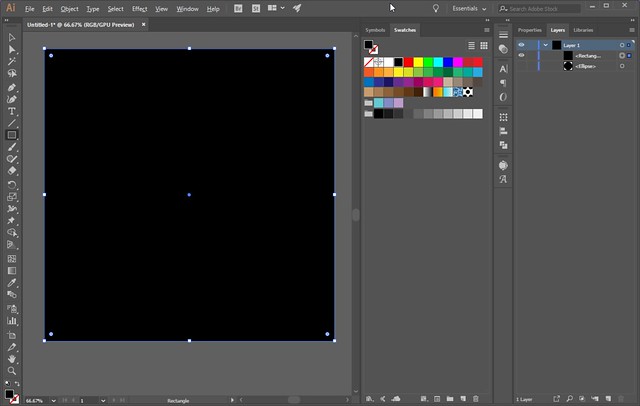
On the swatches panel (Window --> Swatches) you will see that your pattern has been saved. With your new square highlighted, set the fill to the polka dot pattern.
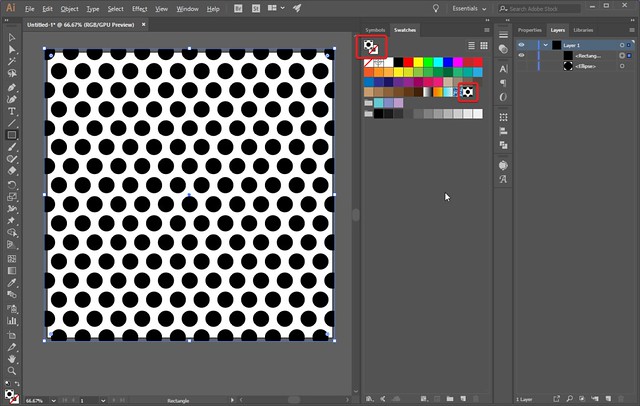
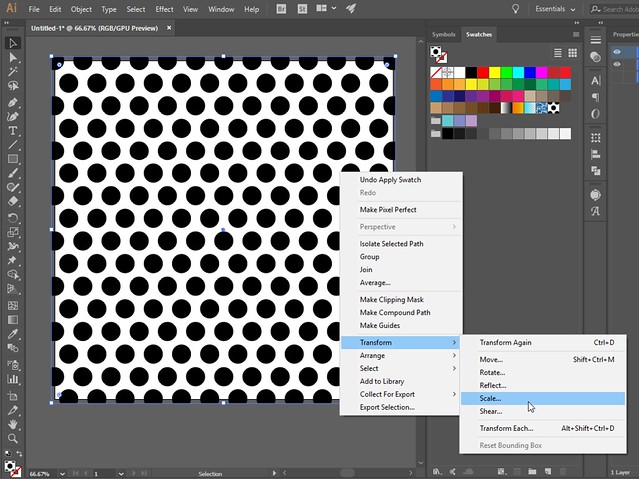
To change the size of your pattern, right click on the square and navigate to Transform -->Scale
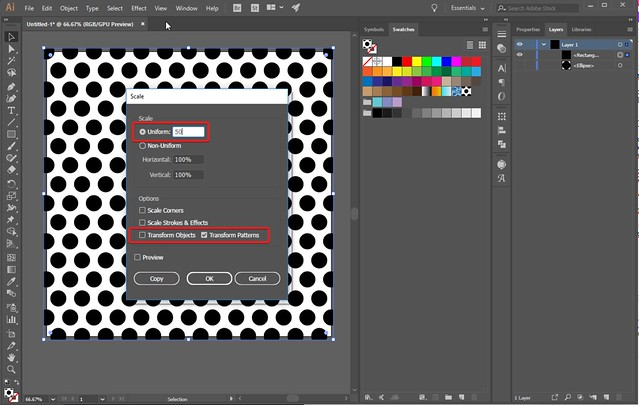
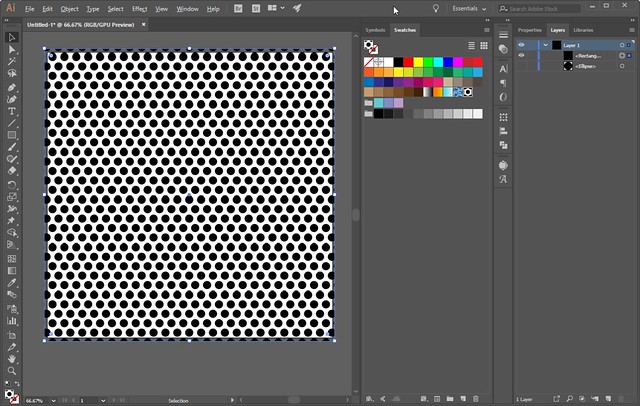
In the window set the percent you want to shrink the pattern. Also, uncheck "transform object." Now you have a smaller pattern!
Thanks so much, Marisa!
Thank you, Marisa.
amazing when I have more time i sure am gonna try some of these as of this time I can not seem to find time to do anything.
Thank you so much.
I actually figured it out but mine was way different if anyone has PhotoShop Elements 15 and you need help please do not hesitate to ask me.
I didnt figure out this pattern but did the one where you have to use a mask layer and background over it xx
Thank you so much for this Illustrator tutorial. I have had this software for a few years. I have learned things through trial and error.
Well no pattern but did figure out how to make the background in a shape n so happy thanks xoxo
i'll try
because i like illustraitor and i'm new here and all about this world ahahah okno
thank and good day
thanks dear