I think mostly it's a matter of knowing what the final size of the preview image is going to be, and making sure your 100% preview is the same size (resolution).
For instance, if I'm doing a 2000x2000 pixel preview at 100dpi (because it doesn't need to be print-sized), and I've resized my elements to display nicely in that preview, I might have a preview in the corner that doesn't resize my elements, but rather pastes one into the document at its full size.
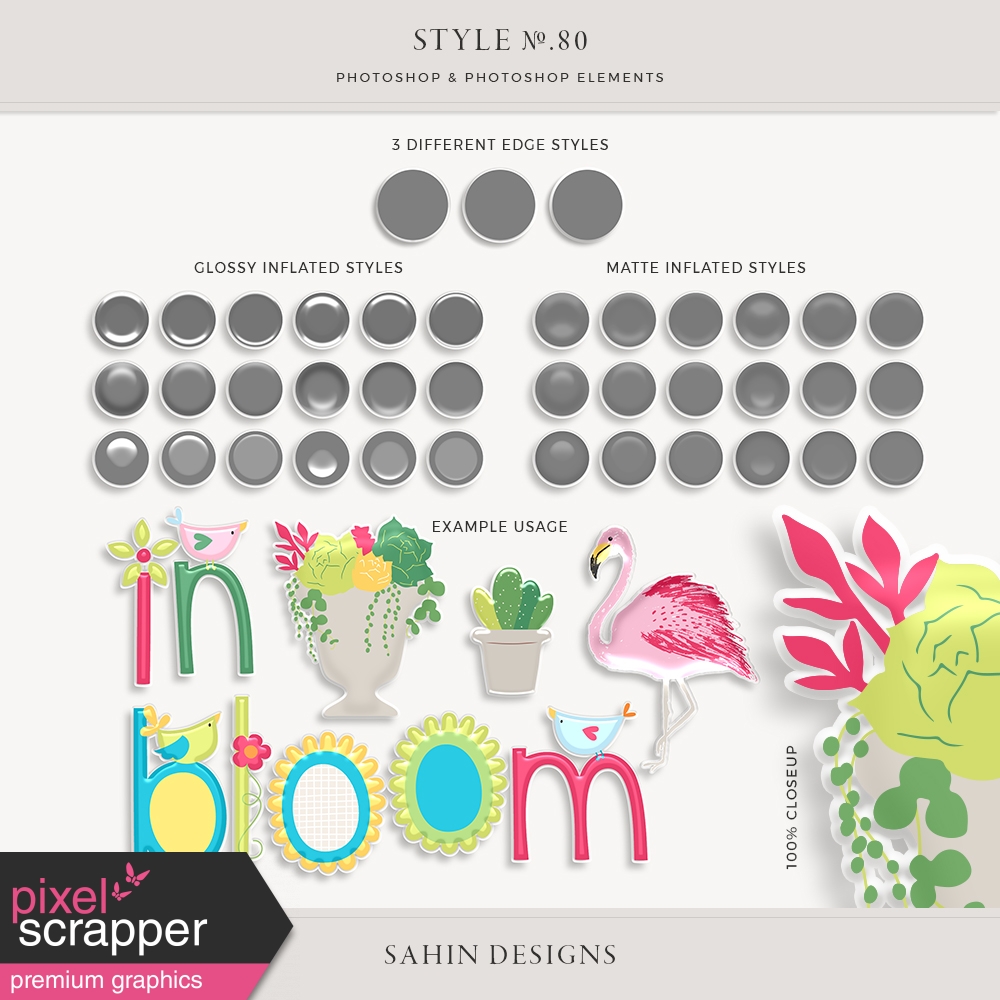
For example, I made this preview to go with my October 2019 blog train contribution:
While I resized the parts of the kit to all fit within the preview space, I wanted to show off the paper texture and embossing that was used, so I included the "full-size preview" in the corner. So I copied that graphic from its file and pasted it into the preview image, but didn't resize it. Instead I cropped it to a circle to include in the corner. (It's a bit small here because I shrank the whole image for more convenient viewing in the forums, but the original 2000x2000 pixel image was included with the blog train file.)
If you're usually dragging files onto your preview document in Photoshop in order to place them as smart objects, some automatic resizing happens to make them fit within the document workspace. For the full-size preview, I would instead open the image you want to preview with in its own document, then copy and paste into the preview document to preserve its relative size.
I make my previews at full size (3600x3600px) so I can catch resolution and size errors. To do a zoom in like that, I would just zoom in to 100% and take a screen shot.


I think mostly it's a matter of knowing what the final size of the preview image is going to be, and making sure your 100% preview is the same size (resolution).
For instance, if I'm doing a 2000x2000 pixel preview at 100dpi (because it doesn't need to be print-sized), and I've resized my elements to display nicely in that preview, I might have a preview in the corner that doesn't resize my elements, but rather pastes one into the document at its full size.
For example, I made this preview to go with my October 2019 blog train contribution:
While I resized the parts of the kit to all fit within the preview space, I wanted to show off the paper texture and embossing that was used, so I included the "full-size preview" in the corner. So I copied that graphic from its file and pasted it into the preview image, but didn't resize it. Instead I cropped it to a circle to include in the corner. (It's a bit small here because I shrank the whole image for more convenient viewing in the forums, but the original 2000x2000 pixel image was included with the blog train file.)
If you're usually dragging files onto your preview document in Photoshop in order to place them as smart objects, some automatic resizing happens to make them fit within the document workspace. For the full-size preview, I would instead open the image you want to preview with in its own document, then copy and paste into the preview document to preserve its relative size.
I make my previews at full size (3600x3600px) so I can catch resolution and size errors. To do a zoom in like that, I would just zoom in to 100% and take a screen shot.